


About
Owncast is an open source, self-hosted live video and chat server for use with existing popular broadcasting software. With streaming + chat out of the box you can take control over your content by running it yourself.
It can be seen as a Twitch alternative, but can also be used as infrastructure to embed live streams into your existing sites.
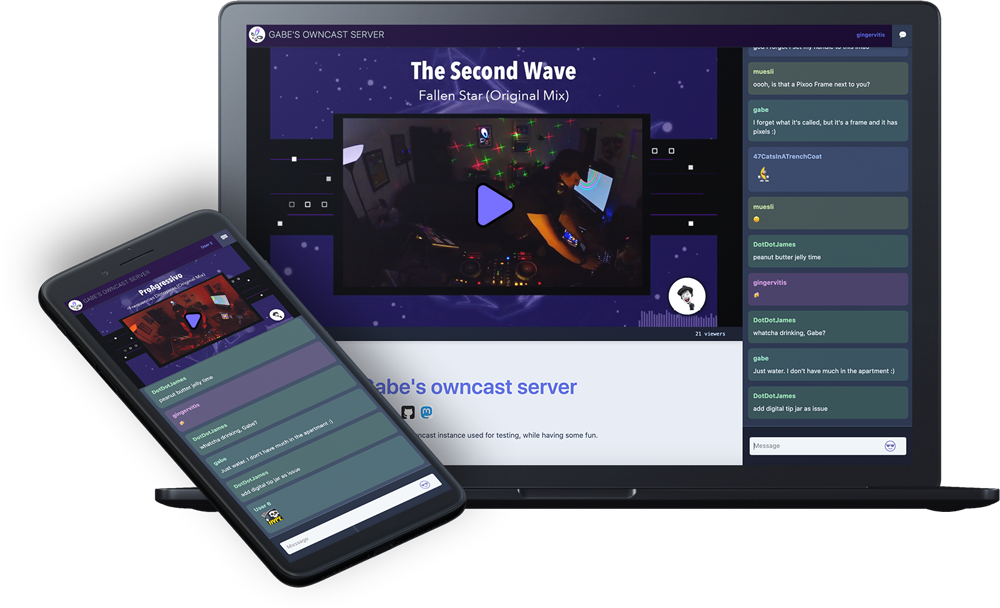
Owncast Gallery
Follow the below steps and it'll setup Owncast for you automatically.
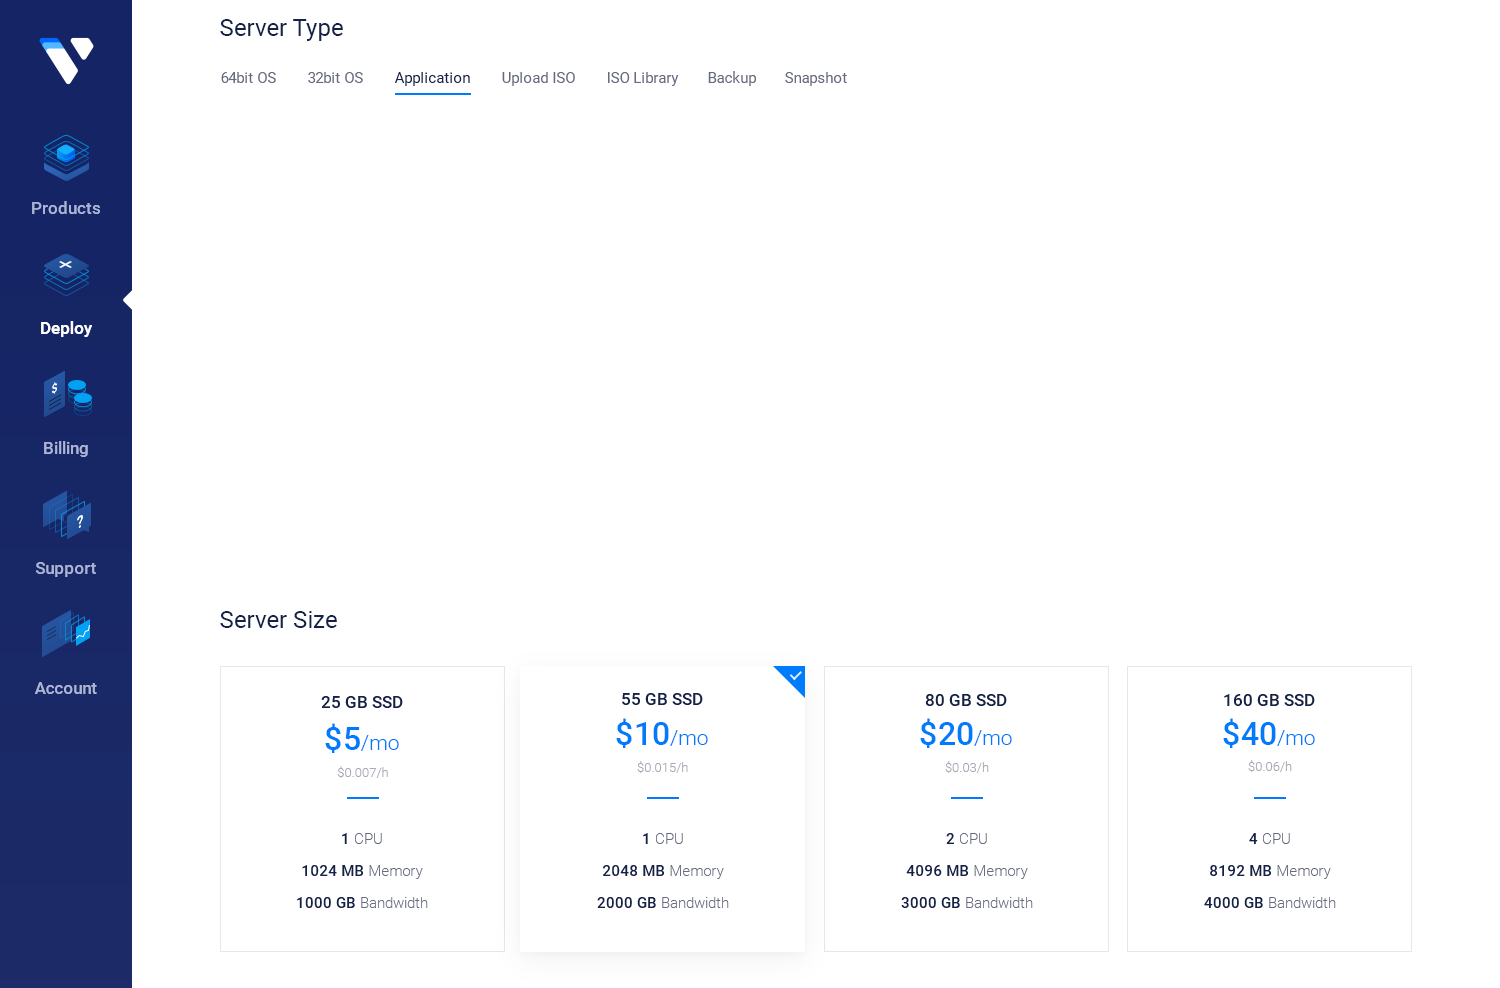
Create your new server from the Vultr Marketplace
Keep in mind when selecting a monthly plan that the more CPU you can provide, the better quality and flexibility you'll have in the end. Read more about CPU usage with Owncast.
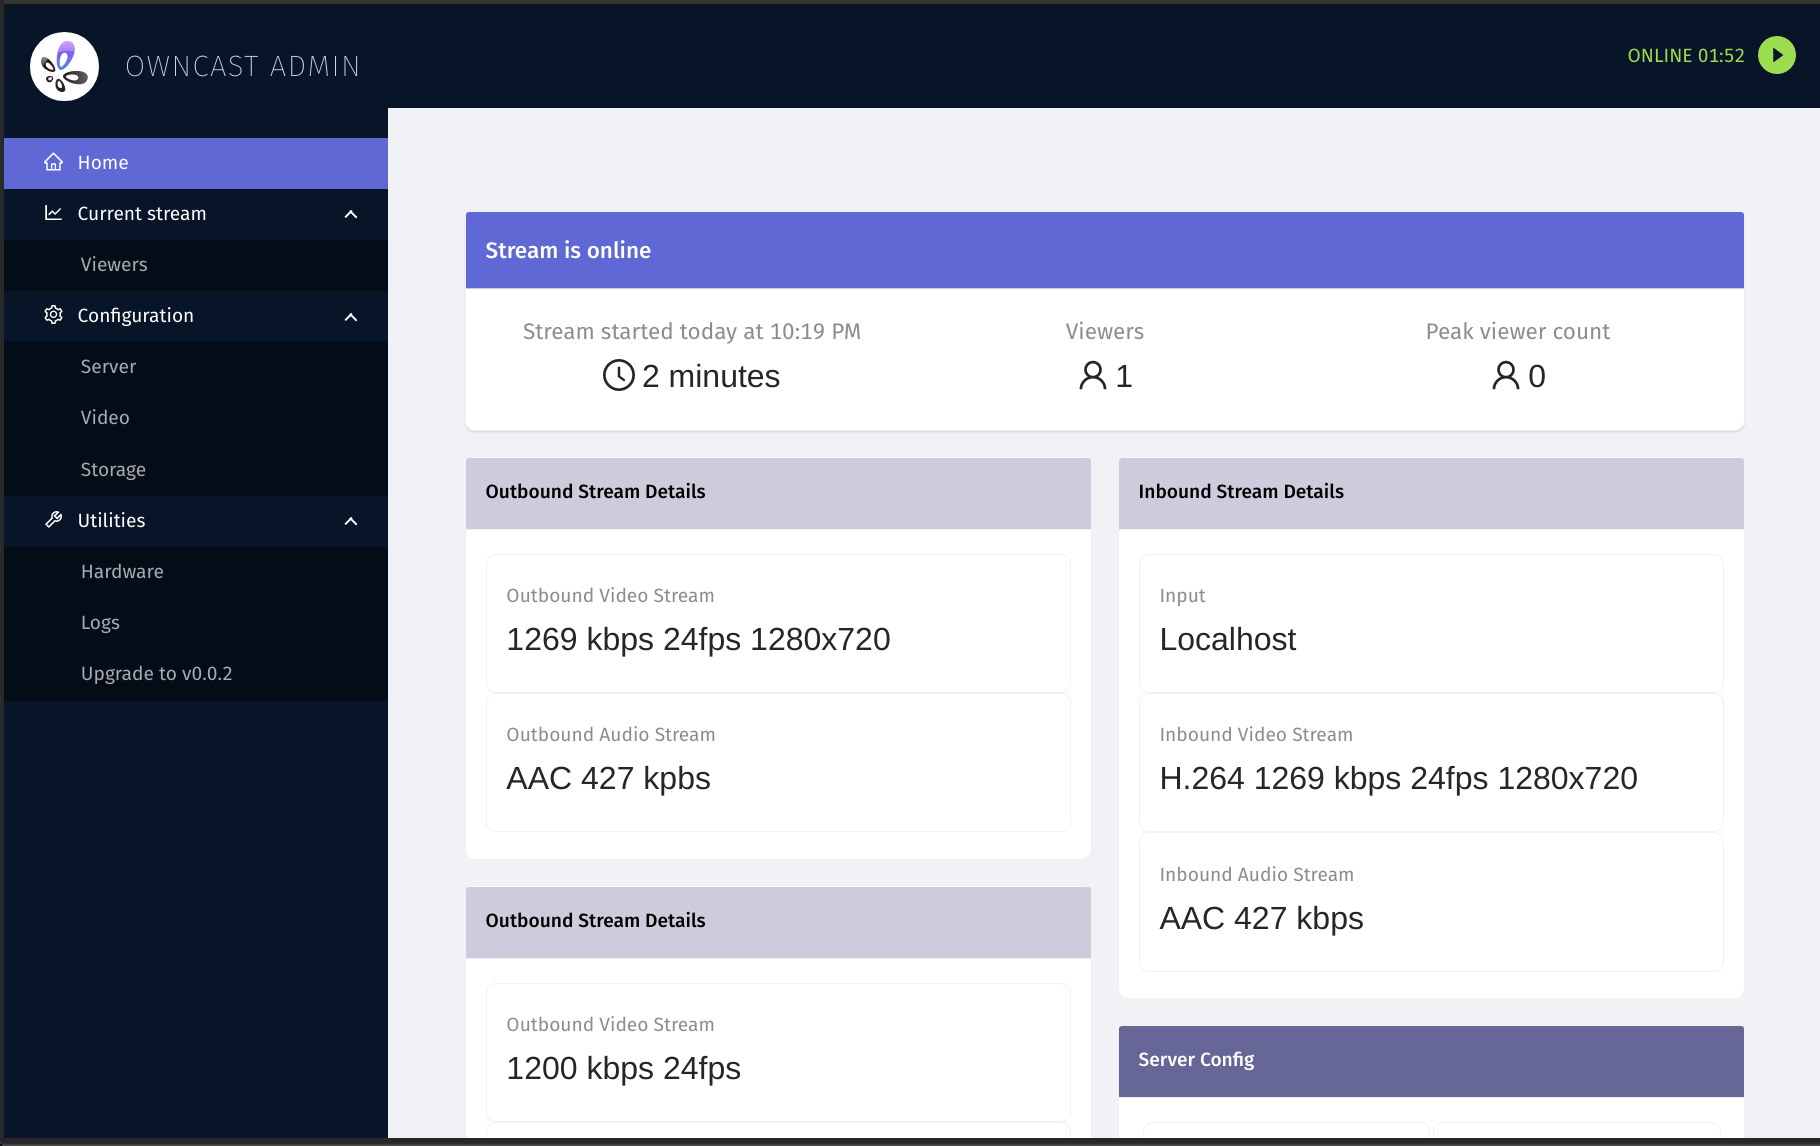
When http://your_vultr_server:8080 in your browser loads then your install is complete.
Setting up your new server to support SSL/HTTPS
You will want to support SSL with a https URL on your new Owncast server. The following steps will walk you through this.
Create a hostname at your DNS provider
- Login to your DNS provider.
- Add an "A Record" for a new hostname, pointing to the Vultr server IP address you can find in your Vultr control panel.
- Wait approximately 5 minutes, but it may take longer depending on your DNS provider.
Configure SSL on your server
- Login to your server by SSH'ing your new server as root:
ssh root@your_vultr_server. The root password is found in your Vultr server control panel. - Enter the hostname you added to your DNS provider above and your email address when prompted. These are only used to configure SSL on your new server so it'll be accessible via HTTPS.
Test
- In your browser visit
http://your_vultr_server:8080and verify Owncast is running. - In your browser visit the hostname you configured above
https://hostname.mydomain.comand verify Owncast is accessible via SSL. - Start a stream using RTMP your software to this hostname or rtmp://yourvultrserver/live using
abc123as the stream key. Visit the start streaming instructions for more details
Configure
With Owncast running you can begin to configure your new server by visiting the Admin located at /admin with the default stream key of abc123 as the password. Visit the Configuration Instructions to learn how you can change your stream key, video settings, web page content, and more.
Notes
- Owncast is installed in
/opt/owncast. You'll find all your data files there. This is also where you can upgrade your Owncast server in the future.
Support Information
Support Contact
Website
https://owncast.onlineSupport URL
https://owncast.onlineRepository
https://github.com/owncast/owncastSlack Channel
https://owncast.rocket.chatMaintainer Contact
Website
https://owncast.onlineGit
https://github.com/owncast/owncastSlack
https://owncast.rocket.chatReport Application
Report an application with malicious intent or harmful content.